Branding Guide
Here’s a quick guide to branding your help desk.
Logo
Admin Panel > Settings > Company
The help desk can be branded with a company logo by uploading the logo at Admin Panel > Settings > Company > Logos tab.
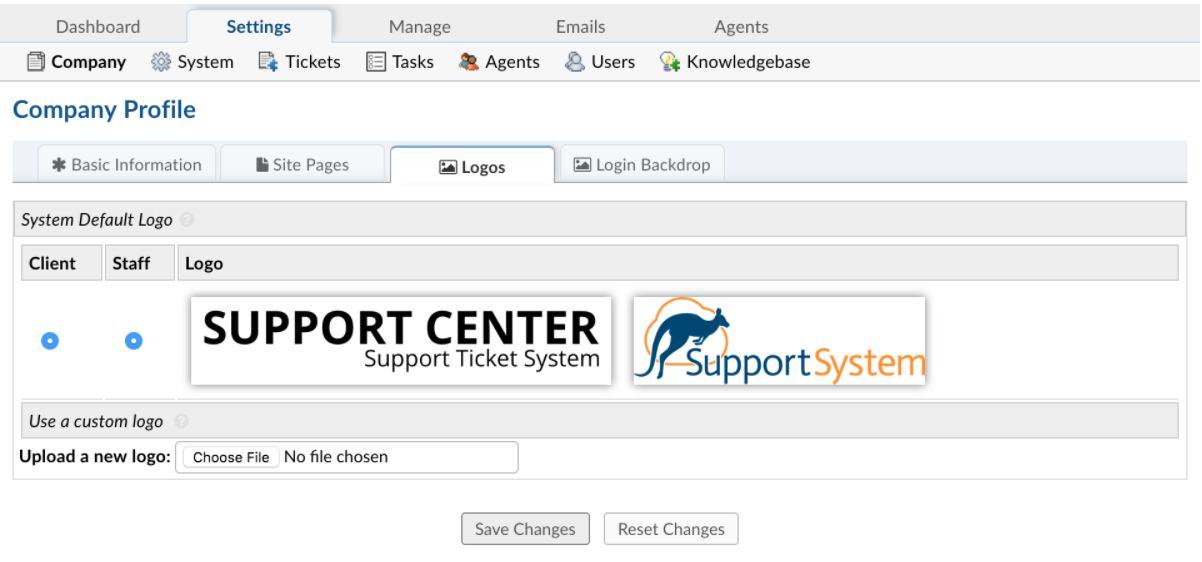
The logo may be an image in a .gif, .jpg, or .png format. To speed up load times, it is recommended that the image be sized as close as possible to the default image size (817px by 170px). Once the logo has been selected, click on “Save Changes” at the bottom of the page to start the upload process.
After the logo is uploaded, be sure to select it to be visible on the Landing, Thank You, and Offline pages by selecting it for the “Client” side of the help desk. Although numerous logos can be uploaded and added, only one logo can be visible at a time on all Site Pages. To edit the text for these pages, simply go to Admin Panel > Manage > Site Pages and select the page to be edited.
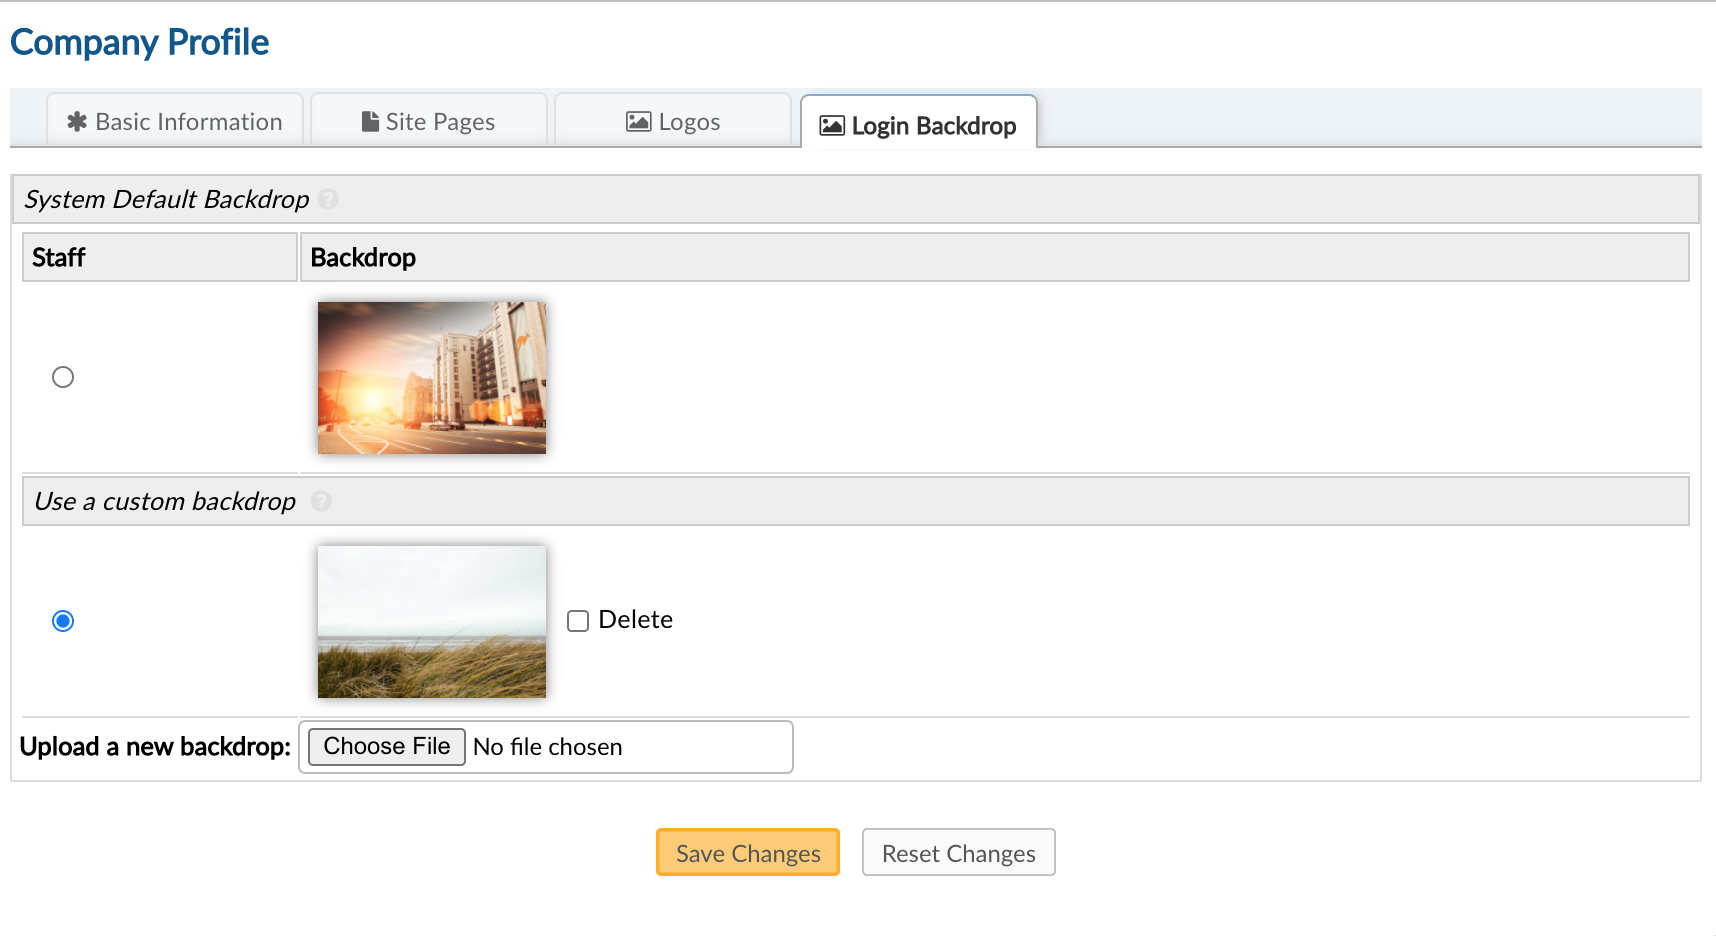
Note: You can also customize the Staff Control Panel (agent login page) backdrop by going to Admin Panel > Settings > Company > Login Backdrop Tab.
Customizing Site Pages
User Portal Landing Page
Admin Panel > Manage Tab > Pages > Landing Page
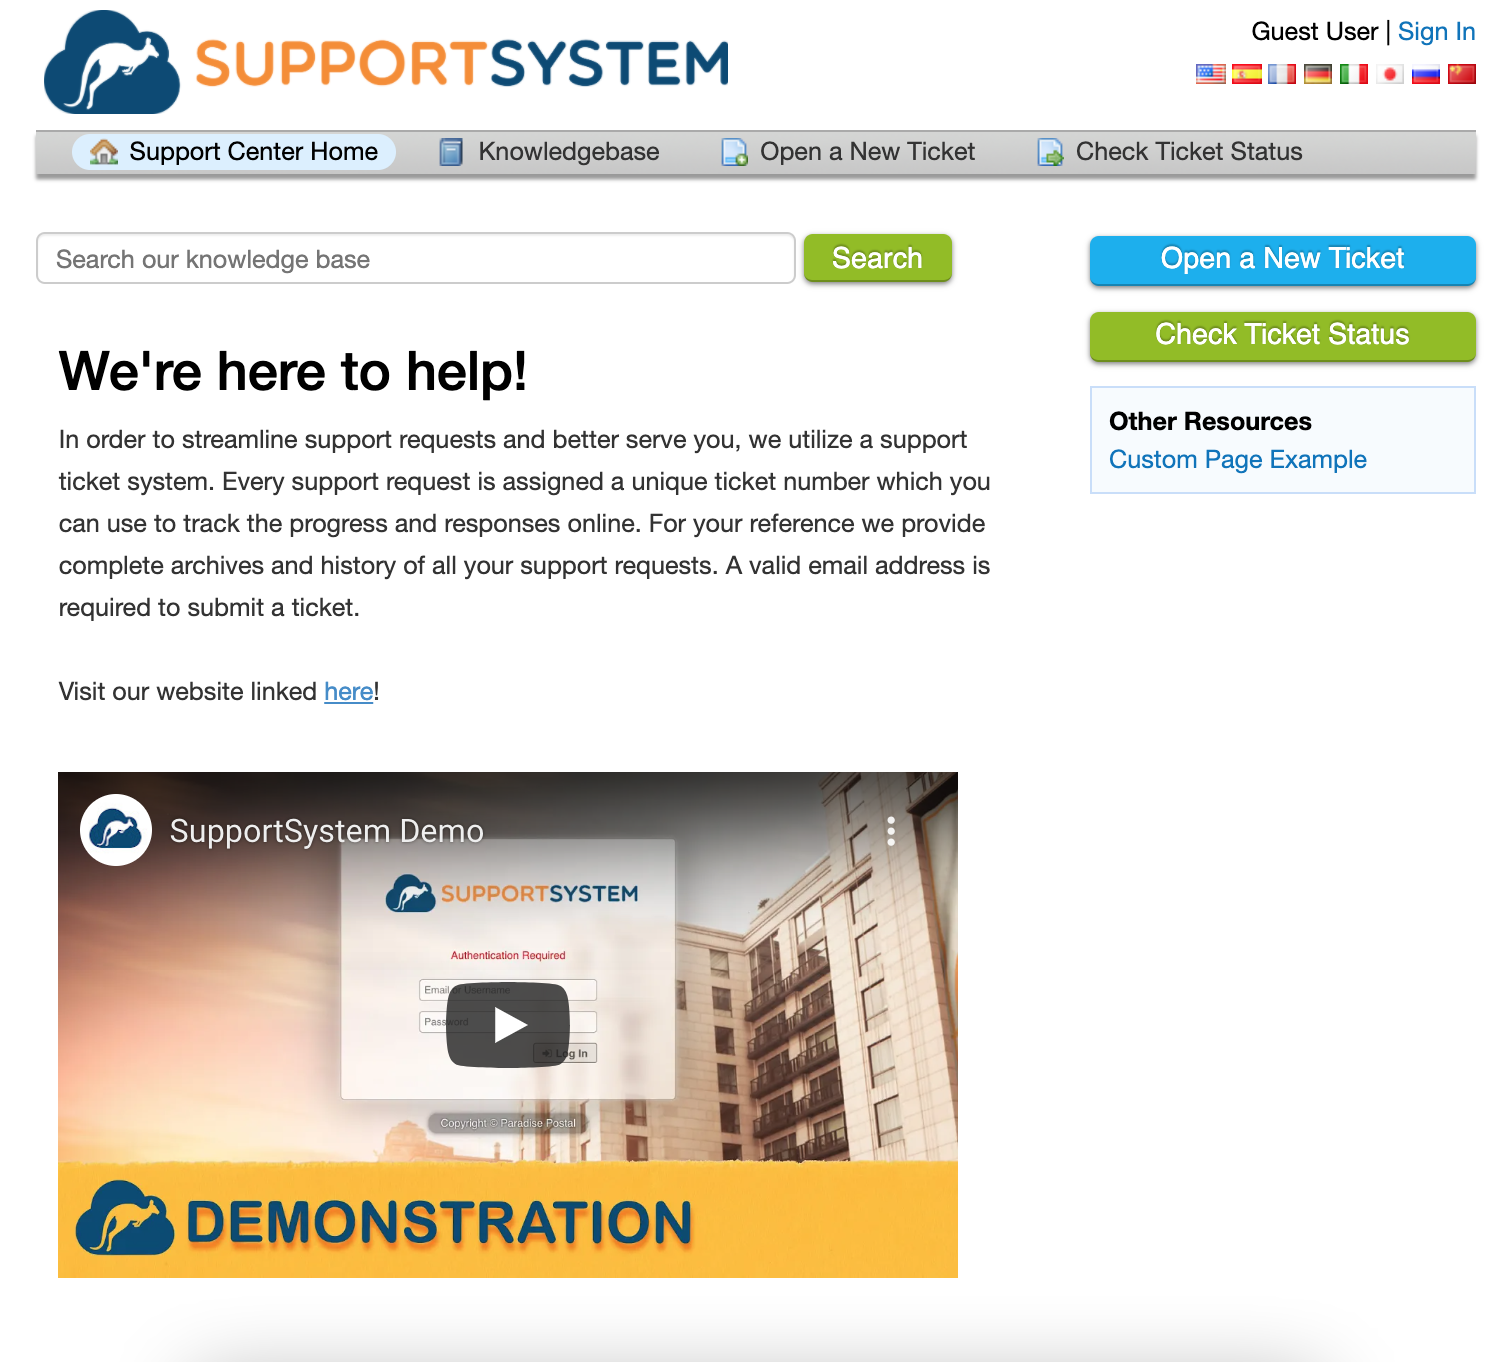
The Landing page is the first view an End-User will see when they access the Client Portal. It is where the end-users are welcomed, allowed to create a ticket, and can check the status of tickets. You can customize the Landing Page to include images, videos and external links.
User Portal Thank You Page
Admin Panel > Manage Tab > Pages > Thank You Page
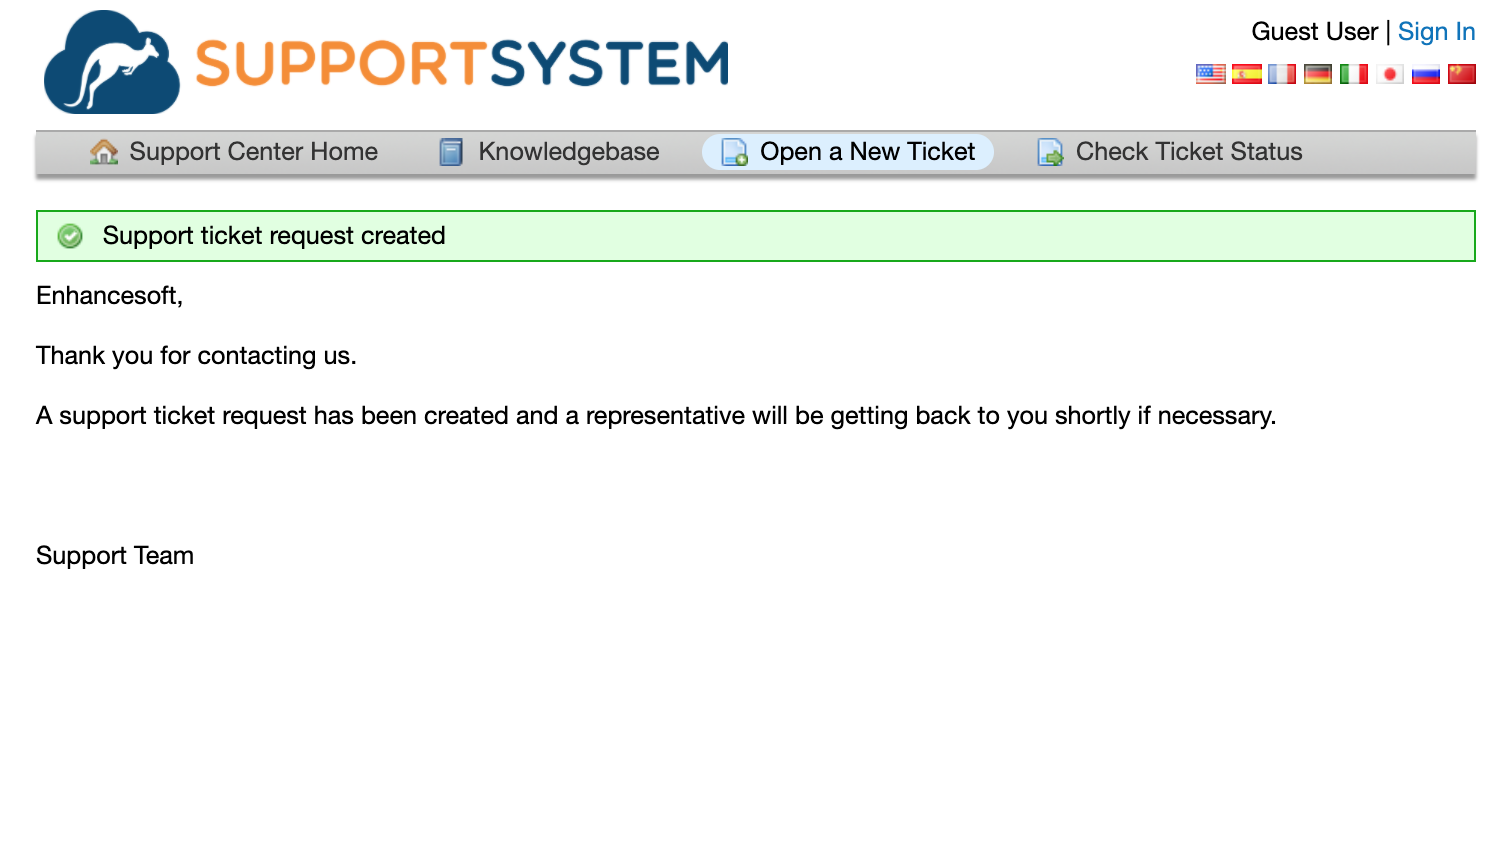
The Thank You page appears once the end-user has created and submitted a ticket but is not logged into the client portal of the help desk.
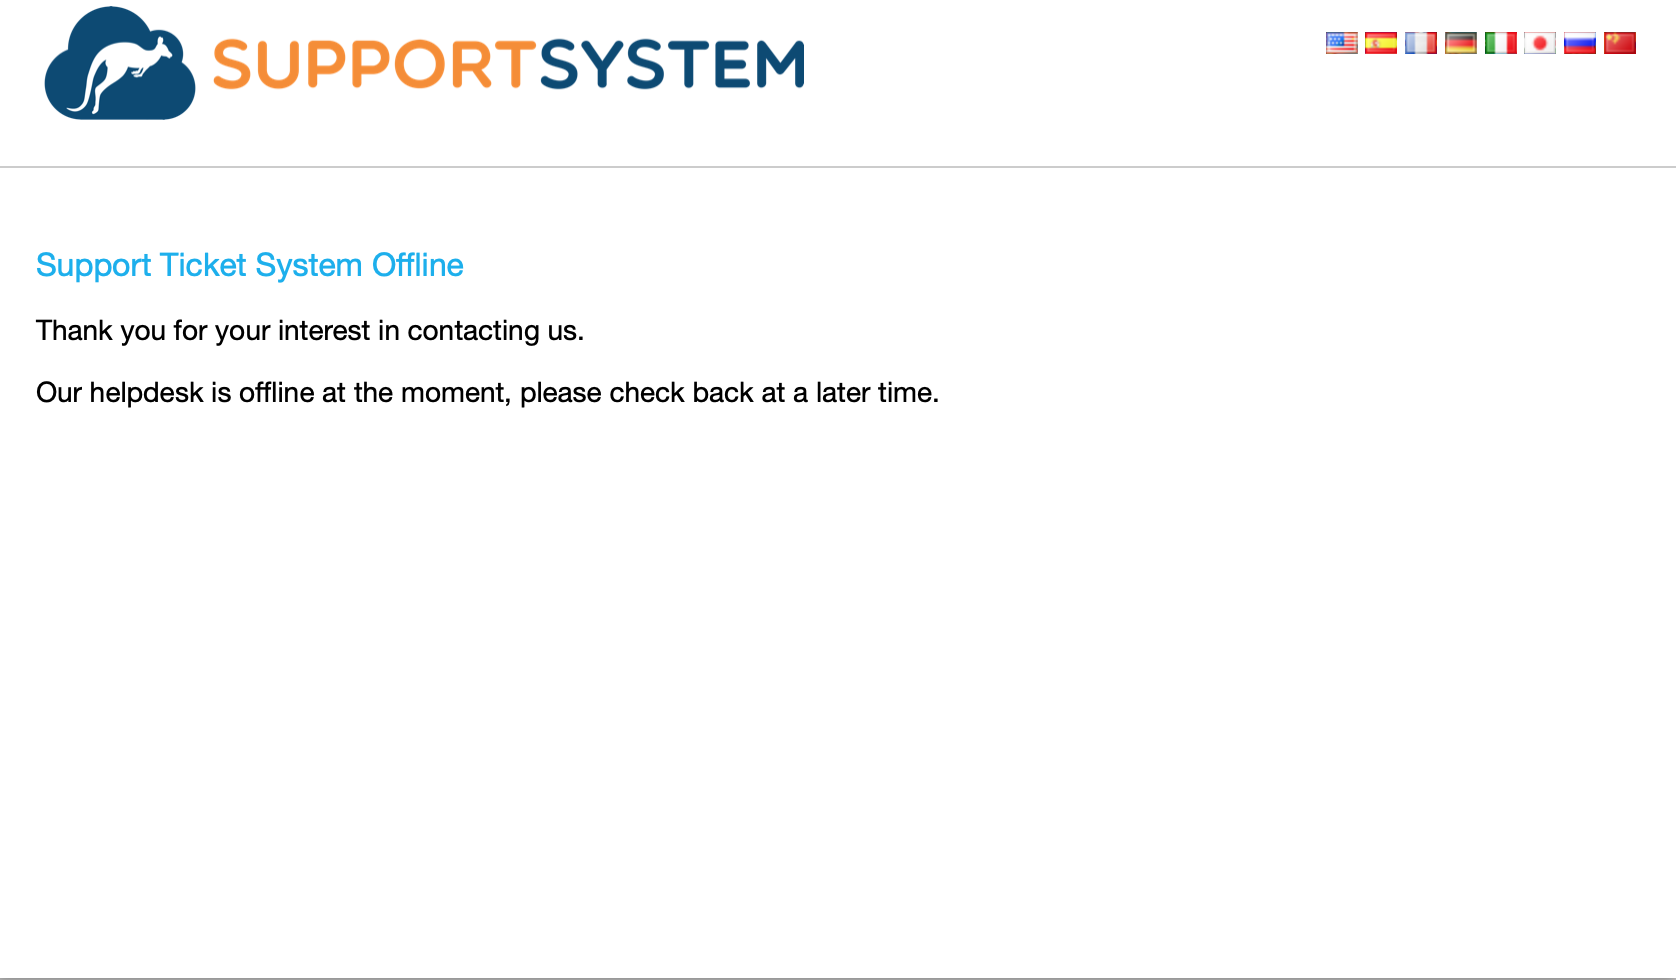
User Portal Offline Page
Admin Panel > Manage Tab > Pages > Offline Page
The Offline pages appear to end-users when the Client Portal of the help desk is disabled.
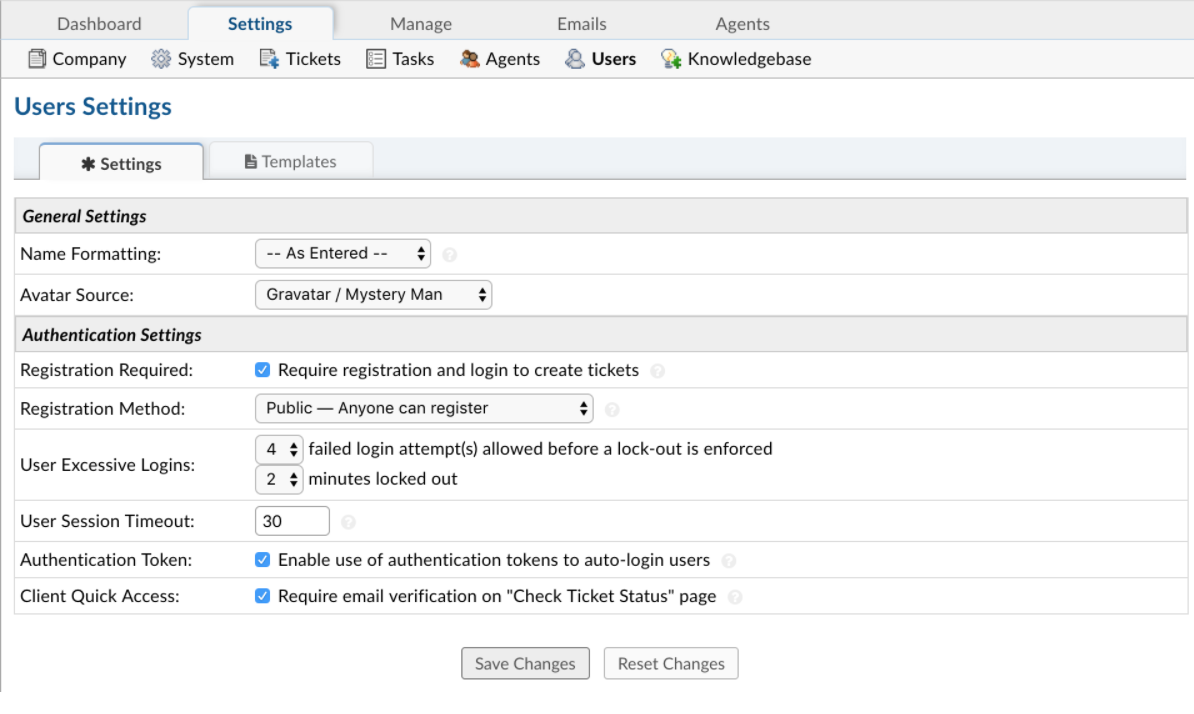
Custom User Registration Methods
Admin Panel > Settings > Users > Registration Method.
Registration can be required for Users to create tickets on the Help Desk to prevent random tickets or to limit Users’ accessibility to the User Portal.
If Registration is required, there are a few options of registration methods for end-users.

Registration is an important feature for Users to check ticket statuses or see all of their tickets in the help desk. A User can follow the link in the auto response to check the status of a ticket, or they can Login to the client portal to a ticket with the ticket number and their email address. This will then send a link to their email for them to follow back to that one, singular ticket. A User must be registered to Login to view all tickets associated with their name.
Users can easily check the status of a ticket with their email address and a ticket number if the Click Quick Access box is unchecked.
Custom System Languages
SupportSystem currently includes 8 System Language options to translate your help desk; English, Chinese, Japanese, German, Russian, French, Spanish, and Italian.
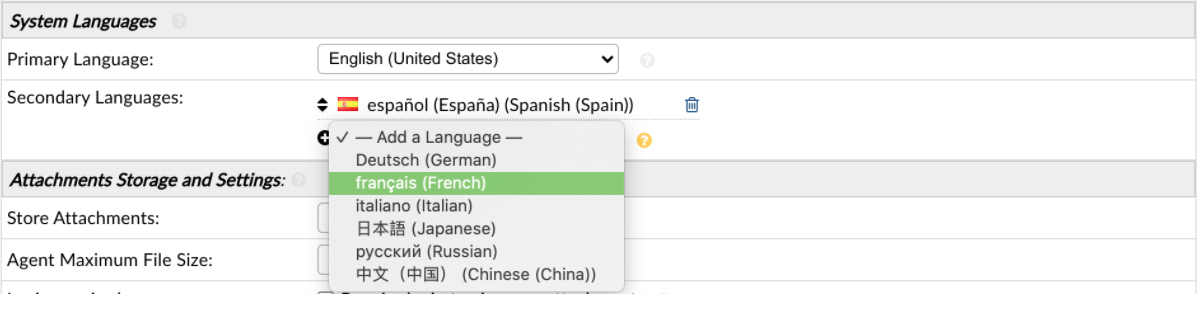
Adding additional Languages to your help desk will give both Agents and end-Users the ability to select a preferred language to view the help desk in. Users can select a preferred language when viewing the User Portal; Both Agents and Users can also set their own language preference to always view the help desk when signed in from their ‘Profile’.

The system languages are configured at Admin Panel > Settings > System > System Languages. See our guide linked here for additional details on translating your help desk.
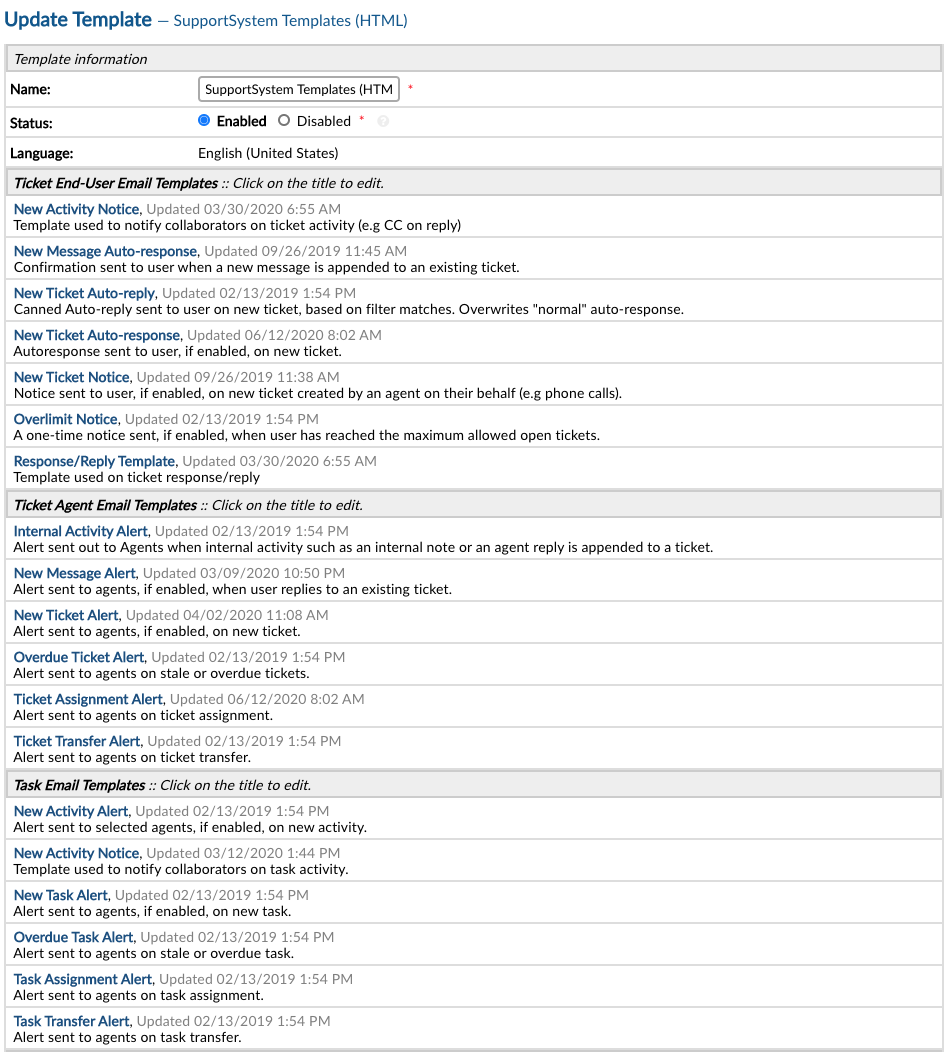
Email Templates
Admin Panel > Emails Tab > Templates.
SupportSystem contains stock messages that are sent out to both Agents and End Users during specific events of a ticket’s life cycle (Auto-Responses and Alerts and Notices). These email message templates can be edited, disabled globally or locally, as well as cloned and assigned to different Departments. When editing, the messages in the templates each have an HTML/Rich Text toolbar for design and brand flexibility.
See here for further details on customizing Email Templates.
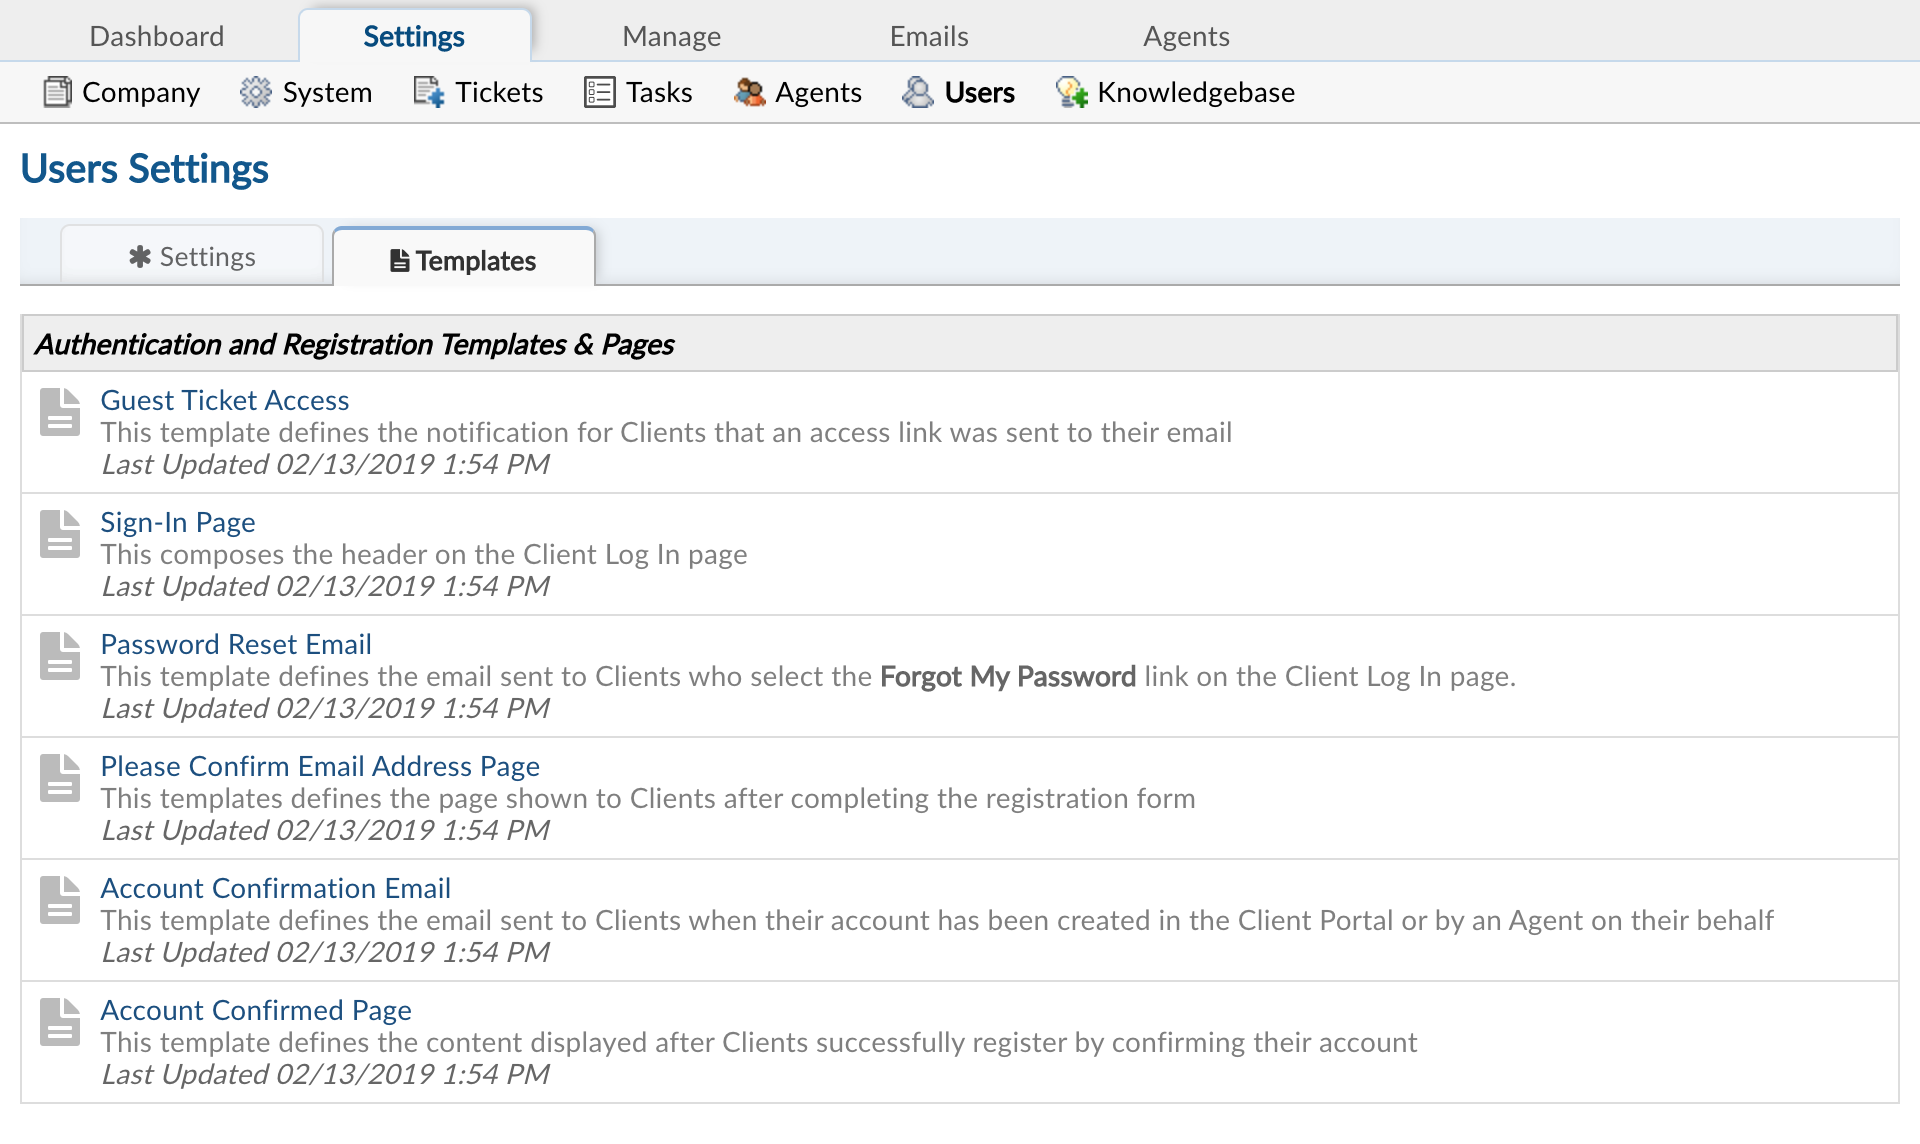
Additional Templates available to customize:
Admin Panel > Settings > Agents > Templates Tab.
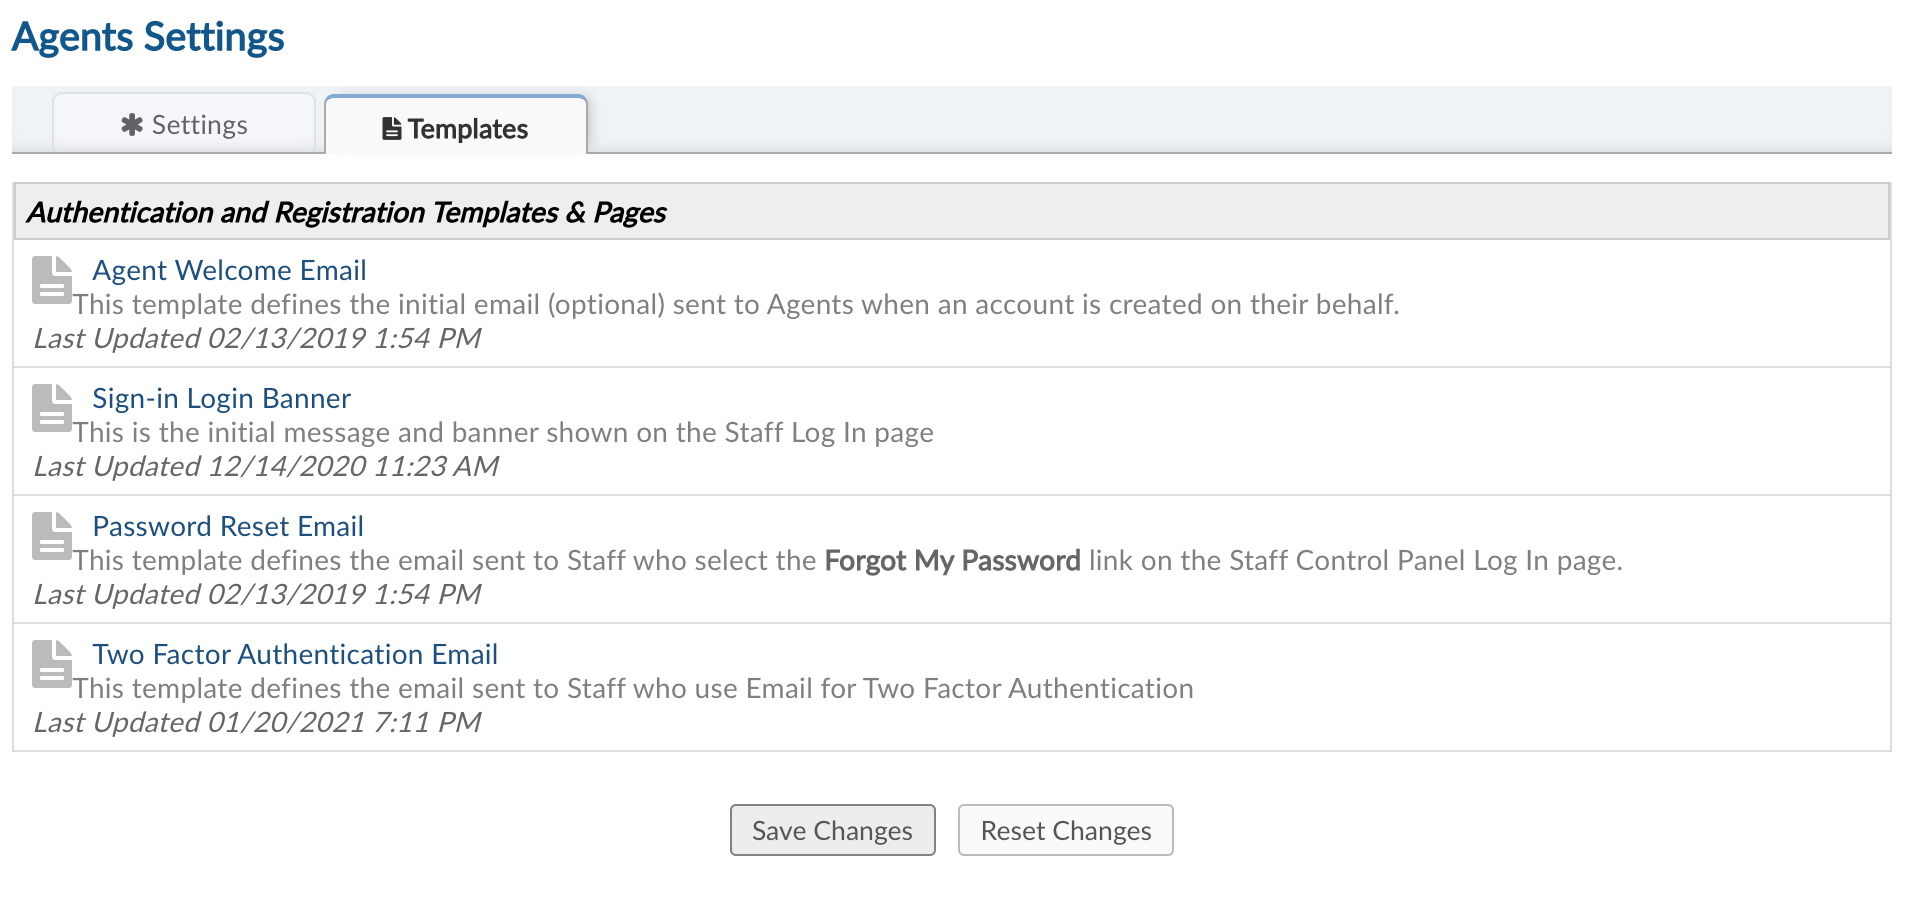
Admin Panel > Settings > Users > Templates Tab.
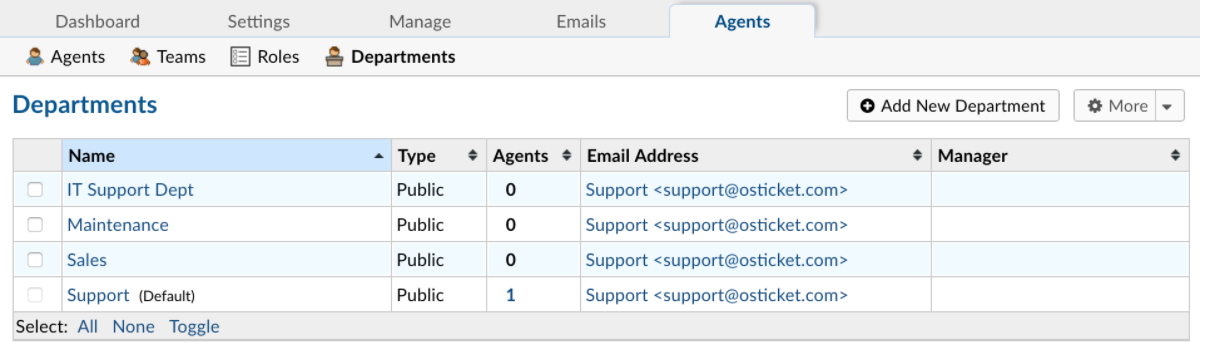
Departments
Admin Panel > Agents > Departments
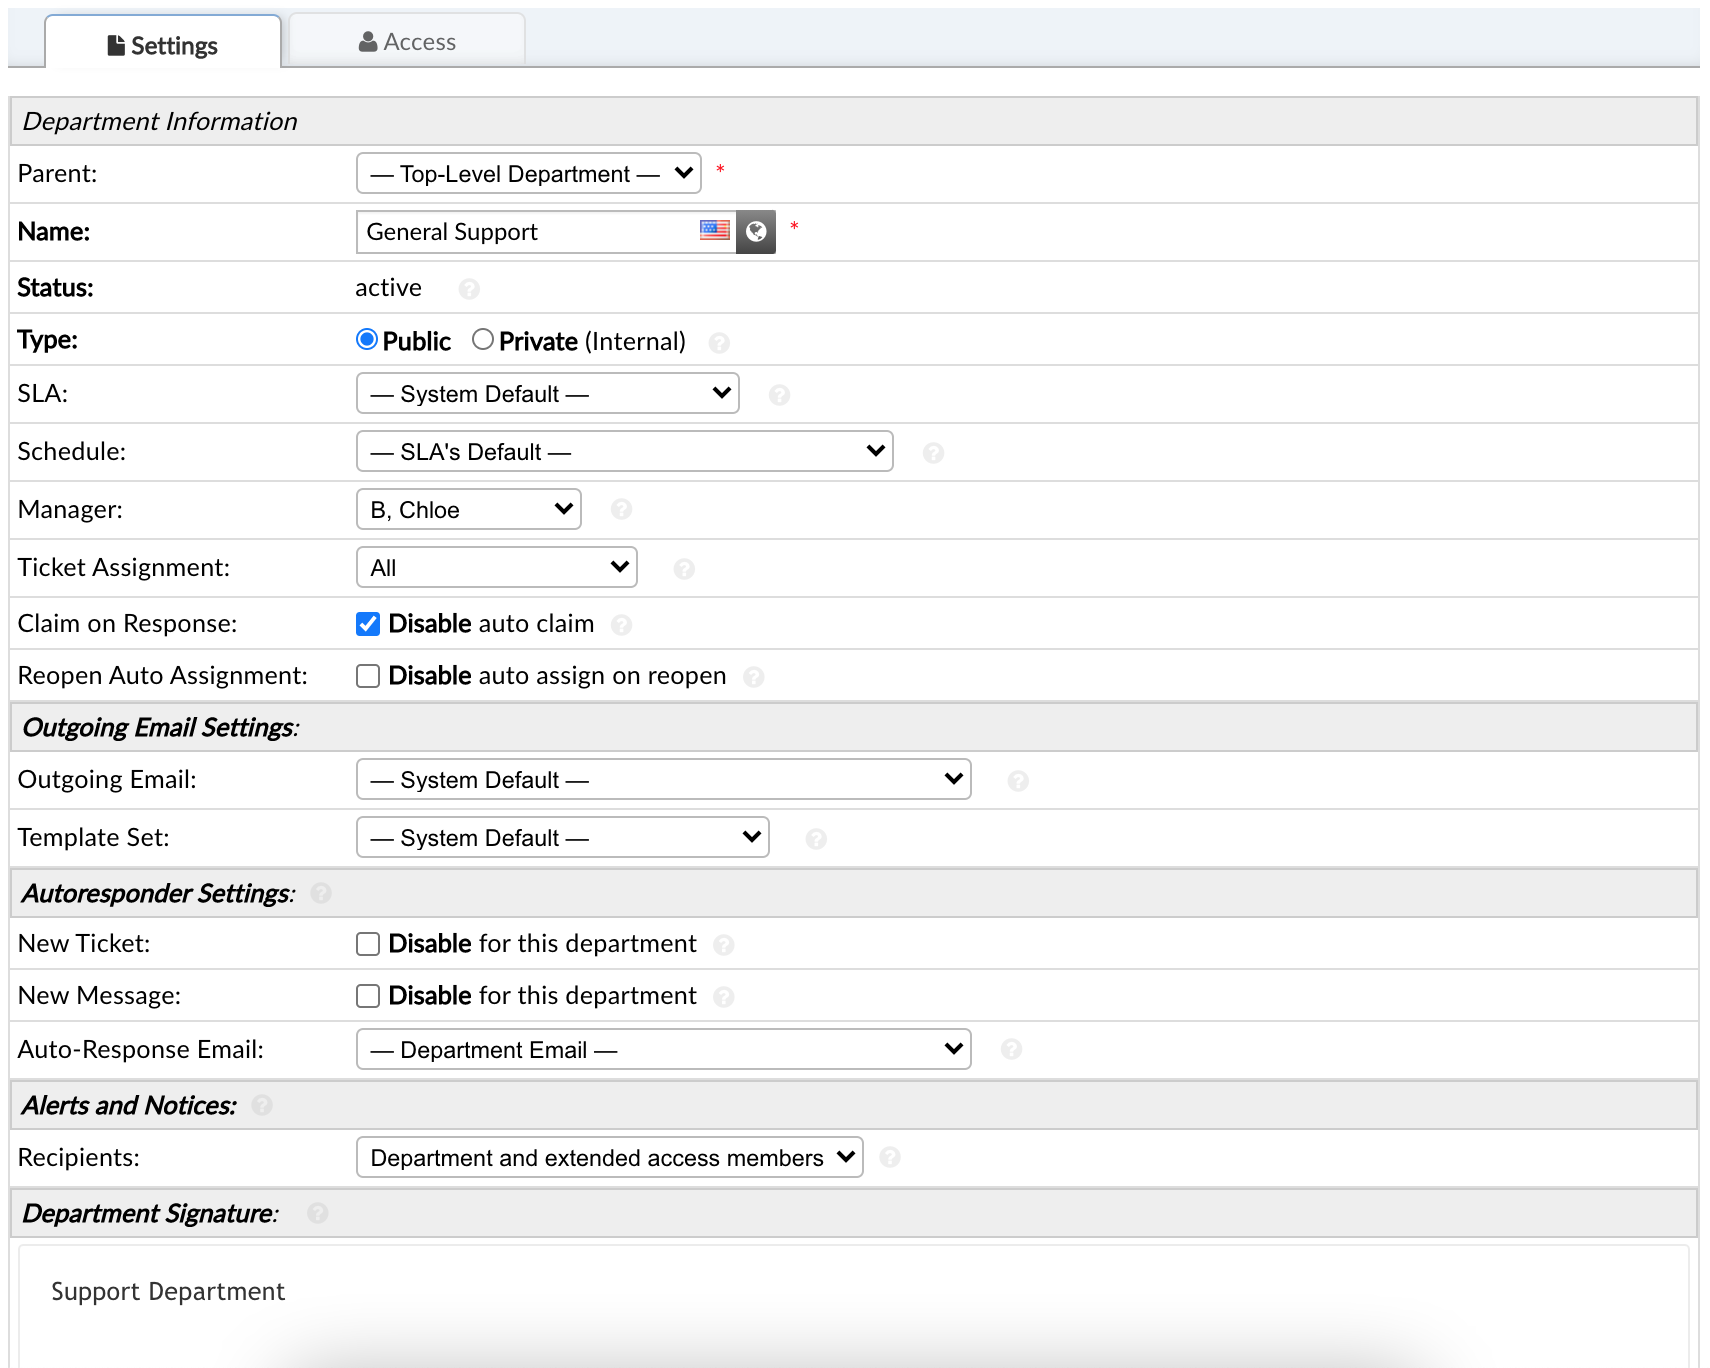
You have the ability to route and segment tickets using departments. You can also setup and route unlimited number of email addresses e.g support@productA.com, support@productB.com. Since tickets are routed through Departments in the help desk, there are many settings that can be set for each Department.
See here for further details on Departments.
Signatures
Custom Signatures can be set for each Agent and each Department. You can set Agent or Department signatures to be automatically added to the end of every ticket.
Agent Signature:
Agent Panel > Profile > Signature Tab
Each Agent can set their own Signature, as well as their own default signature preference for their responses in the help desk.
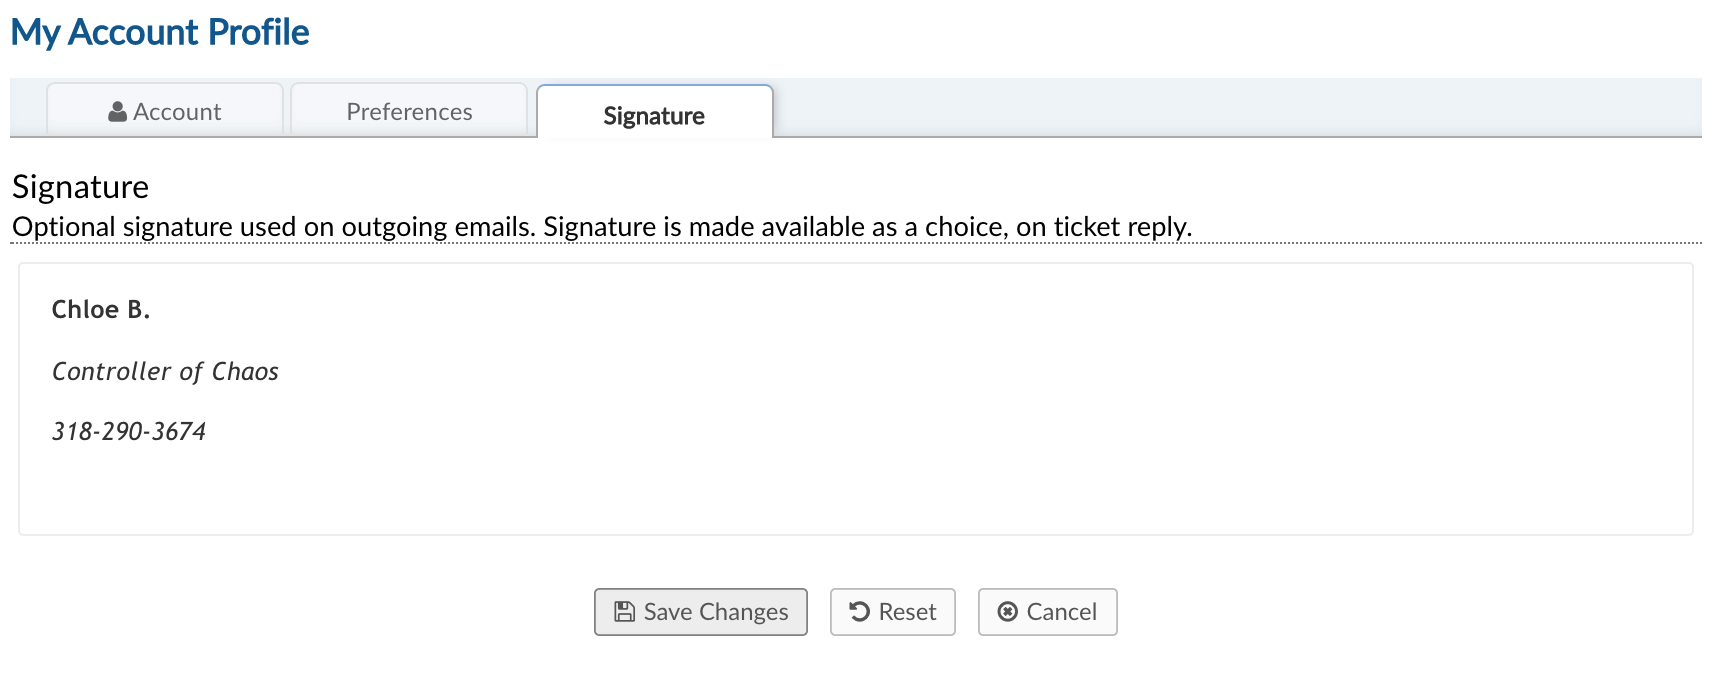
Once the signature is set, go to the Preferences Tab and set the ‘Default Signature’.

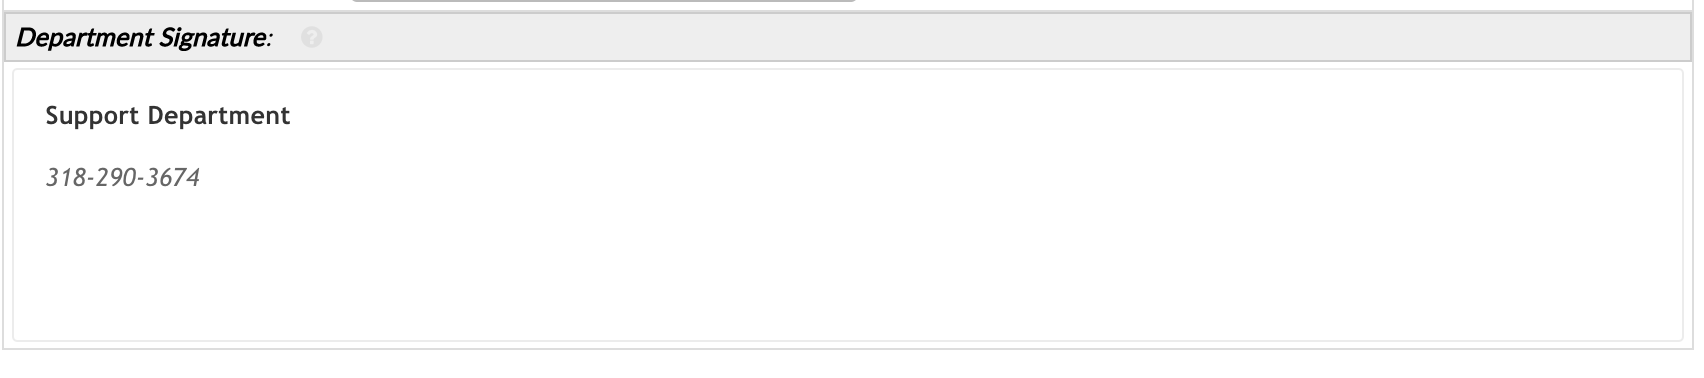
Department Signature:
Admin Panel > Agents Tab > Departments
You can set a custom signature for each Department. This signature will be displayed for Tickets within this Department, if the Department is selected as the Signature preference for Agents within their Agent Panel Profile > Preferences Tab.
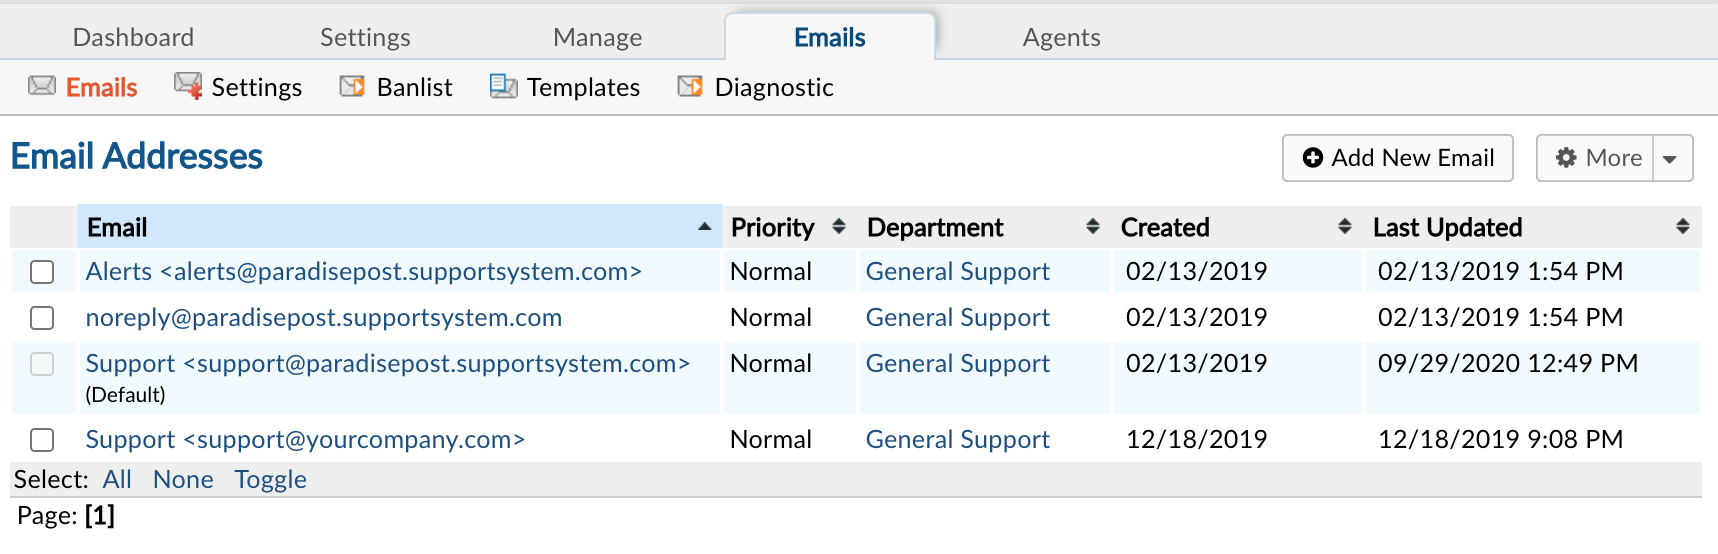
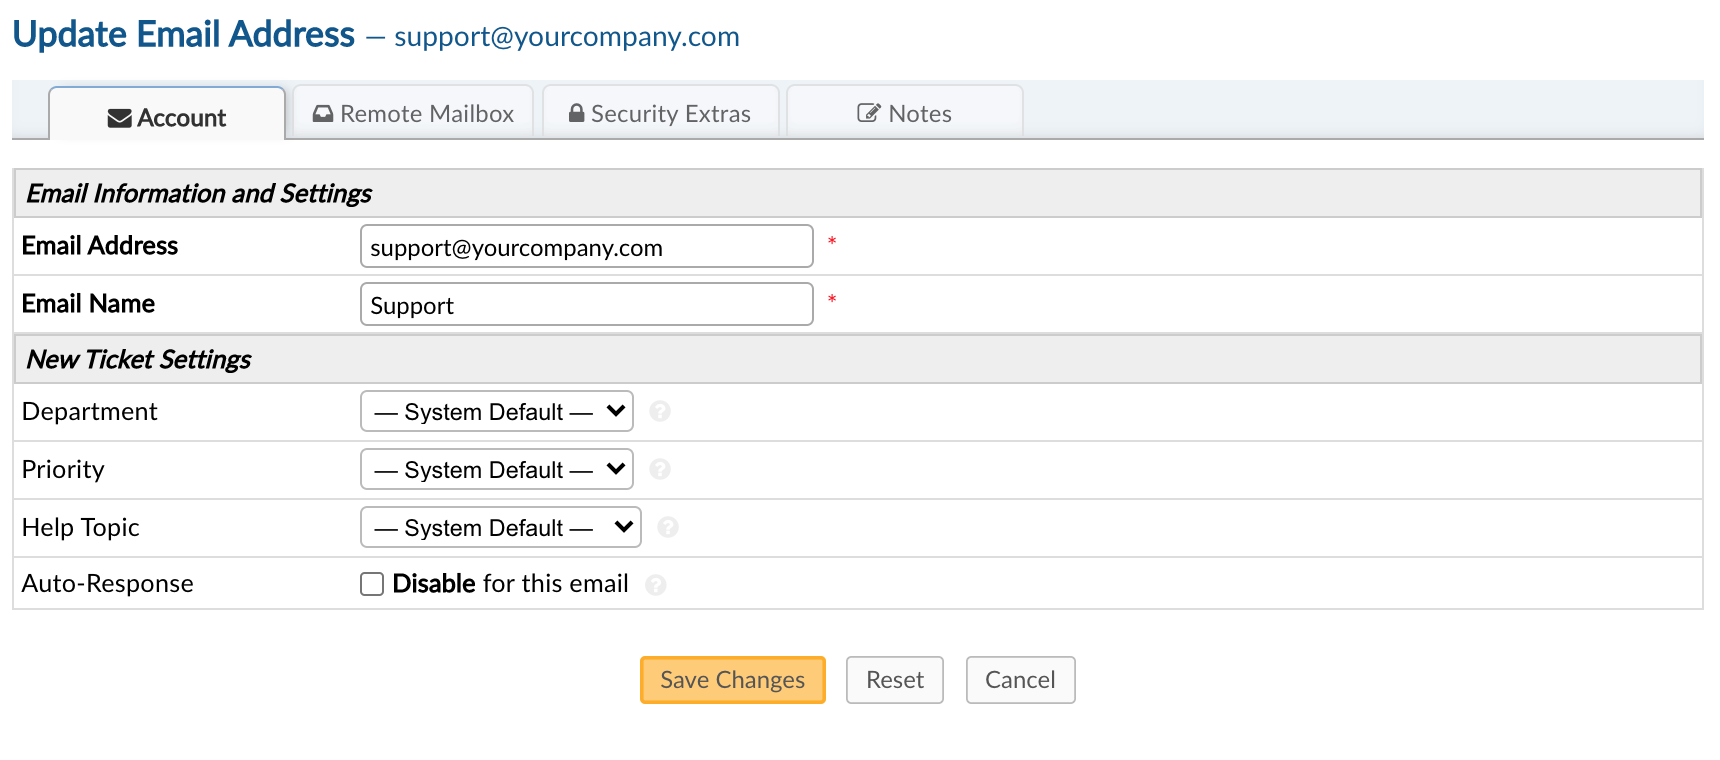
Emails
Admin Panel > Emails Tab
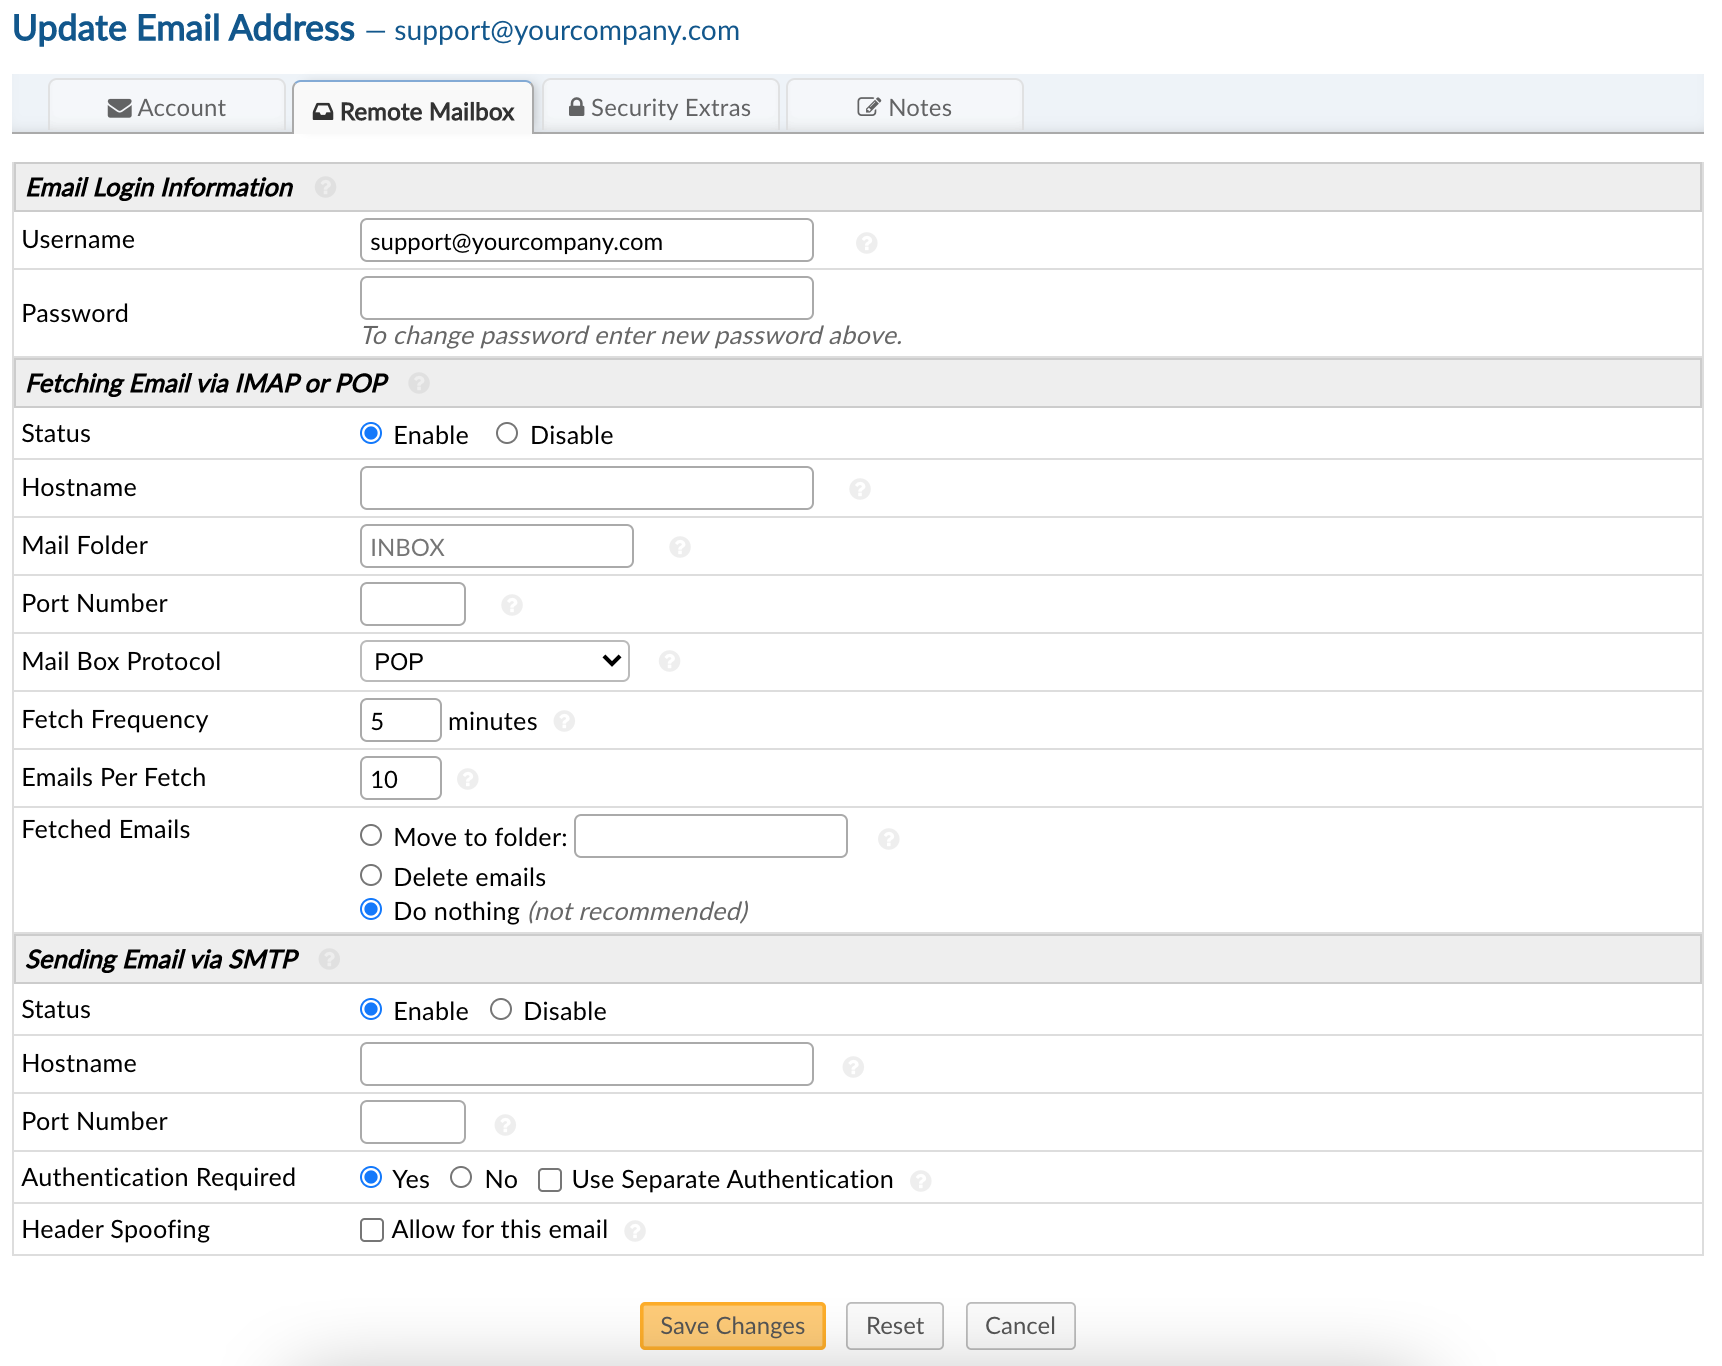
With SupportSystem, we highly encourage you to simply forward your external email inbox to an email address with your help desk subdomain (@yourcompany.supportsystem.com). We ship the software with 3 examples but you can create an unlimited number of addresses by putting anything before the “@” symbol of the subdomain. OR - if you would prefer- you can also set up the IMAP or POP settings to have your external email box fetched for emails to create tickets. Both will work so it’s really up to you.
See our here for further details.
Domains
Account Panel > Domains Tab
For branding purposes, it is often important to associate your helpdesk with your own existing URL.
To accomplish this, you will need to use a CNAME record to associate your custom domain or subdomain with your helpdesk URL. A CNAME, or Canonical Name record is an entry within the Domain Name System (DNS) that specifies where a user can find your web pages or any other URL.
See our guide here for further details on adding your domain.